
It’s laundry day. This is because the shirt that you are wearing is eight years old, and it doesn’t match your pants at all in any light. There’s a possibility that your socks are one navy blue and one black. You take a large hamper with you to the laundry room. Separate whites from colored socks. You then load as many items as you can into your washing machine and add detergent.
Nothing happens.
The piece of machinery that you could always rely on suddenly goes out of service. Washing machines are the backbone of any household appliance stable. In fact, there is a TED Talk on how washing machines were the most important invention in the Industrial Revolution. They are the most difficult to live without when they break down. Do you really want to haul your laundry down to the laundromat, fight for quarters and then put it in a machine that may not be taking the gentle cycle seriously?
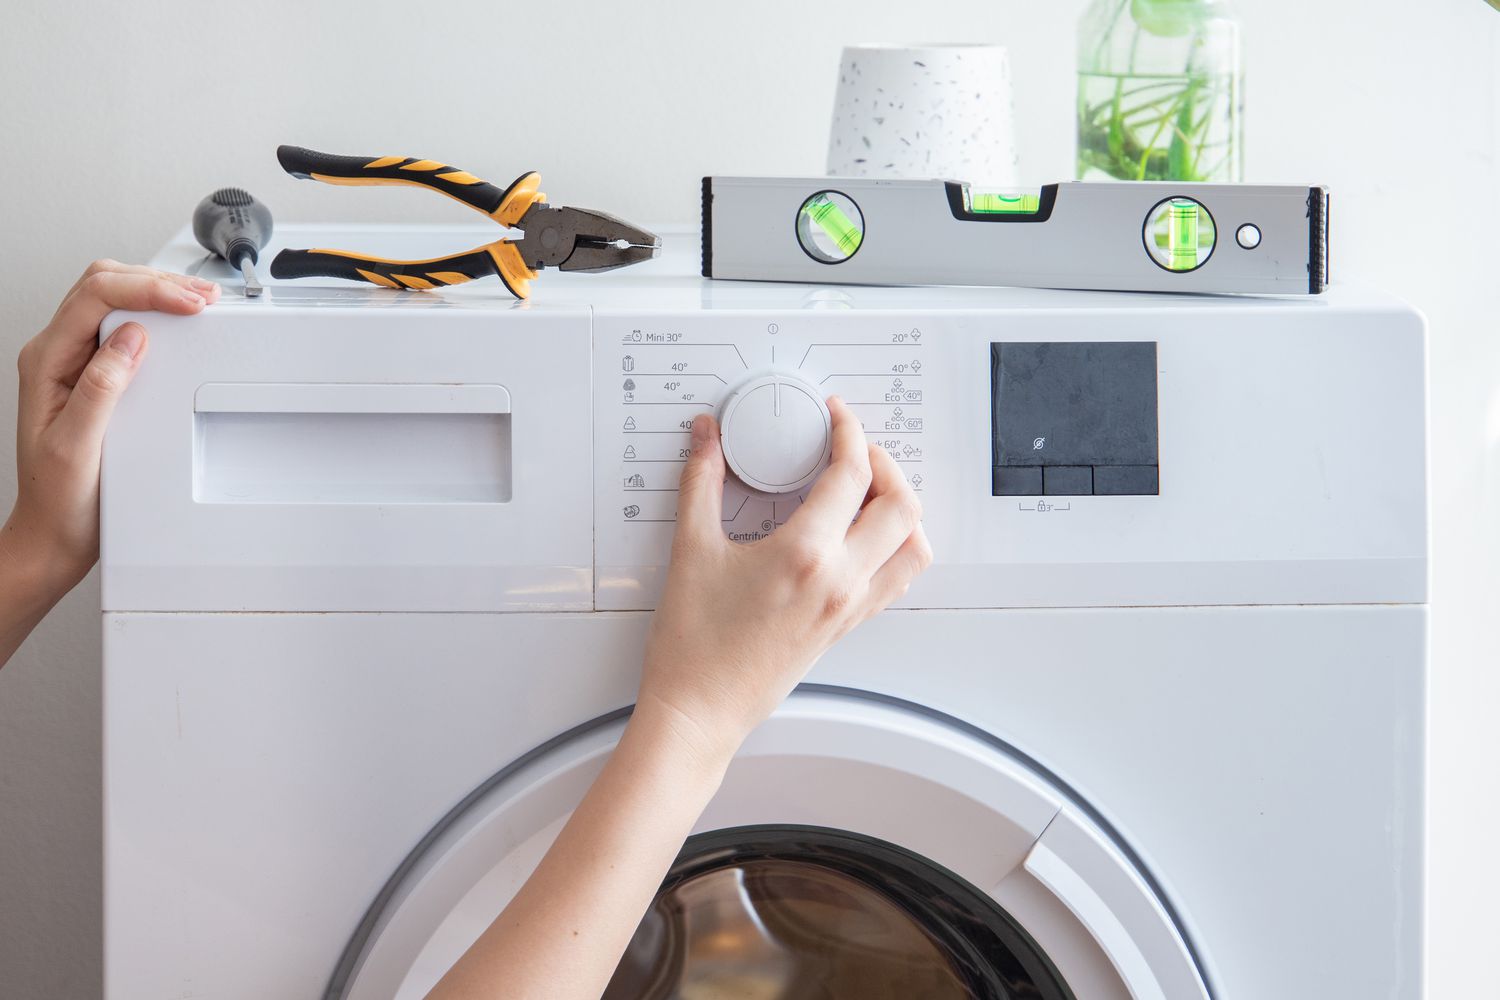
You have two options: Call a professional or try to fix the problem yourself. Washing machines can do many different things so they may be more difficult to repair than to diagnose. It’s a complex household appliance with complicated timing cycles. The motors and valves operate the motors that spin the tub, turn on the water, and drain the water.
Note: Many washers with electronic diagnostics can be read from the owner’s manual.
Caution: Unplug a washer before you start any repairs. Disconnect the water hoses and grounding wire.
Even for do-it yourselfers, diagnosis is possible. You just need to have patience and an understanding of washing machine mechanics. This article will help you troubleshoot common problems and provide quick fixes.
Keep it simple: Sometimes the simplest answer is the right one
Although washing machines can be complex, there are simple steps that you can follow to fix common problems.
Is the washer getting power? For any electrical repair, the first line of defense is to hope it’s not as complicated as a damaged cord or loose plug. If none of these are true, then it might be a blown circuit breaker or fuse. It is possible to fix either of these problems. If the washing machine is still not working after it has been turned on, it may be time to learn more about your machine.
Next, check for water supply. You might accidentally turn knobs or cause kinks in hoses. A quick inspection may help you find the answer. Check that the water faucets are on, and that all hoses have been properly extended. Make sure that the water-saver button on the washer is depressed.
If the problem isn’t related to water or power, then the washing machine may not be working correctly because it needs cleaning. We’ll be discussing how to prevent dirty clothes from causing a dirty washer in the next section.
Also, washing machines need to be cleaned
This fascinating mechanical exploration of washing machine mechanics is interrupted to discuss a very important topic: why laundry can smell after being washed. Your washer may be dirty. Here are some tips to washing machine repair.
To prevent dirt and detergent buildup, clean the washer’s top and door regularly. After washing linty items, remove the lint from your tub. Lint buildup can prevent water and detergent from properly circulating and can cause laundry to smell foul. Fill the tub with water, add 1/2 cup baking soda or 3 cups white vinegar, and then run the machine through its full wash cycle without washing laundry. The tub can be cleaned with mild detergent and household ammonia if the deposits are very severe. The tub can be rinsed thoroughly, then wiped with liquid bleach. Be careful: Before using bleach, rinse the tub well. Chloramine is a dangerous gas that forms when bleach and ammonia are combined. This compound can cause skin irritation, digestive problems, and even kidney problems. [source: CCAC]
Before you add more laundry, make sure the machine has gone through a full wash cycle. These simple steps should have helped you resolve your problem.
But if your problem persists, don’t despair. For more detailed repairs, you can disassemble the washer in the next section.
Take a look under the Hood: How to Disassemble the Washer
The washer cabinet must be disassembled for most maintenance and repairs. The washer cabinet houses all the electrical components and is where the magic happens. The exact location of the washer cabinet varies from manufacturer to manufacturer. It is usually located on top of the machine, behind the control panel. It can be quite simple depending on the make and model. However, it is important to read the manual for specific instructions to properly disassemble your machine. Be careful: Before you take apart the cabinet, or tip it over to be serviced, make sure that the power cord is disconnected.
These are the steps to disassemble a basic washer.
Step 1 – To remove the control panel located on the top of the machine it is necessary to loosen and/or remove a set of retainers. They may be hidden under trim or molding that must be removed to reveal them. The knobs on the control panel are friction-fit and can be pulled off. Others are held by small setscrews at the base of each knob. These do not have the heads of a standard slotted screw. Use an Allen wrench or a screwdriver to loosen the setscrews and remove the knobs from the shafts.
Step 2 You will need to also remove the retaining screws from the service panel. Make sure that the water has been drained from the machine and hoses. To access the machine’s bottom, tilt the washer on its side or front. It doesn’t usually have a service panel.
Step 3 To take the top off the cabinet, insert a sharp-bladed knife into the joint between top and side panels. Give the knife a good whack with your fist. The spring clips should come loose and the top can be taken off.
Washers are notoriously difficult to repair because they contain so many control components (components that control other functions like switches and timers). Things get more complicated now, but don’t lose heart. We will now show you how to service these more complex parts.
Which Switch Should I Use?
Washing machines go through complex cycles that have multiple settings. This makes them more complicated than your average household appliance like a toaster, which may only perform one or two functions. Here are some tips to fix common timers and switches.
Lid Switch
The washer’s lid switch is often used as a safety switch. If it stops working or the switch opening becomes clogged with detergent, it will stop running. You can check the lid switch and fix it.
Step 1 Unplug your machine. The lid switch port can be cleaned with a wooden manicure or chopstick.
Step 2 If the cleaning is not enough, you can remove the cabinet’s top to reach the switch. Check that the screws are not loosening with the switch exposed. The switch can move if the screws are loose or the lid is closed. Make sure the terminals are tight.
Temperature Selector Switch
This control panel switch controls the water temperature in the tub. It controls the fill cycle. This requires special equipment.
The temperature switch and timer could be defective if there is a problem with the water temperature or tub filling cycles. The following page outlines the procedures for testing the timer.
Water Level Control Switch
Another control panel switch is located near the temperature switch. This switch should have a small hose attached to it. Sometimes, the hose can become loose and fall off of the connection. This can cause the tub to overflow. This problem can be solved by cutting off about 1/2 inch of the hose, and using a push fit to connect it to the switch. Push fits are a simple metal fitting, which attaches to the tubing by a row small teeth. Tub overflow or other problems can occur if the switch is not working properly. You can remove the screws that hold it in place if you suspect it is defective and send it to a professional for testing.
Don’t despair if your washer still has problems after you’ve made it this far. Your laundry is not going anywhere, we’re just getting started. Continue reading to learn why this may be bad timing.
Timer Troubles
The washer’s timer controls the water level, tub filling/emptying, cycle length and cycle-setting sequences. If you suspect that the timer may be malfunctioning, you can perform a few checks yourself.
Step 1: Unplug your washer. Remove the control knobs from the panel covering the controls to access the timer. The control panel is the same as the one we mentioned earlier. However, you can also access it through the panel at the back. Pay attention to the wires connecting the timer to other parts of washer. Push the wires into place if they are not in their proper position. They will fit into their terminals just like plugs. To push the wires into place, use long-nosed scissors to do so. Never pull a wire by yourself.
Step 1 Unplug your washer. Remove the panel covering the controls and control knobs to access the timer. The control panel is the same as the one we mentioned earlier. However, you can also access it through the panel at the back. Pay attention to the wires connecting the timer to other parts of washer. Push the wires into place if they are not in their proper position. They will fit into their terminals just like plugs. To push the wires into place, use long-nosed scissors. Never pull a wire by yourself.
Step 2 To check the timer, you will need a volt/ohmmeter (VOM), set to the RX1 range. The default setting for the meter should be RX1. This is the lowest scale. Clip one probe of VOM to each end of the power leads. If the timer is operating, the VOM should read zero. The timer can be used for multiple purposes. Turn it through its cycle, and then test each pair of terminals individually. At all points, the meter should read zero. The timer should not be used if more than one reading is above zero.
Step 3 To change the timer, remove and disconnect the old one. Install a timer that is specifically designed for washing machines. As you go, disconnect each wire one by one. Make sure to connect all the new wires as you go. Once all wires have been connected, verify that they are correct and then screw the timer assembly in place.
We’re having serious fun now! You’re probably wondering which is more painful: reading about laundry or actually doing it. Keep calm, we are approaching the spin cycle. You’ll be done soon.
Rub-a-Dub Dub: Servicing the Tub & Valves
These tips may help solve the problem of a washer that is too noisy or overflowing.
The water inlet valves may be defective if the washer doesn’t fill properly, fills slowly, overfills or is at the wrong temperature. These parts are very easy to find and replace at a low cost. First, check that the water faucets are properly turned on and connected to the cold and hot inlets. Next, check the screens of the valves. If they are blocked, clean them or replace them. Set the temperature control to the HOT setting if water is not entering the tub. Set the temperature control to the WARM setting if there is no water. If there is only cold water coming out, it is likely that the hot-water valve isn’t working. To test the cold water valve, reverse the process and set the control on COLD first and then WARM second. Unplug the washer if the tub is full. The valve may be stuck open if water is still flowing into the tub. These cases indicate that the valves need to be replaced.
Here are some tips to inspect the valve assembly.
First, remove the back panel. Then disconnect the hot-water/cold-water hoses from the valves.
Step 2 Disconnect the hoses connecting to the valves within the cabinet. Disconnect the wires from terminals. Turn off the screws that hold the valves to your machine. The inlet valves are equipped with solenoids (a coil that carries an electric current) within the housing.
Step 3 Use a screwdriver to tap the solenoids. If that fails, you can replace the entire inlet valve unit. It should be installed in reverse order to the one you have just disconnected.
You can feel the tub if your laundry gets ripped during the wash cycle. You may be able smoothen a rough area with an emeryboard or light sandpaper. The tub should be replaced if this fails or you need to get to the metal to remove it. It’s likely that it would be wiser to replace the whole washer in this situation.
As you’ve likely noticed, we now get into the sticky issues. Weekend warriors are now walking through Home Depot aisles, unable to believe in their dreams. You are not among them. We’ll be testing your skills with some miscellaneous mechanical gobbledygook in the next section.
Agitate This: Serving the Agitator
If the fins break or crack, the agitator (the finned piece that fits on the tub shaft) can also tear laundry. The temporary solution to the problem is to use pliers to remove the splinters and smoothen the plastic. However, this is not a permanent fix. You should replace the agitator. You should replace the damaged agitator with one of the same model. You will need to remove the cap from the top of the agitator. Once you have the cap removed, lift the agitator straight up. It should move. If the agitator doesn’t move, you can rape its side with a tool like a hammer. To dislodge the agitator’s bottom rim, place wedges underneath it. Set the new agitator in place and replace the cap.
The machine can vibrate excessively if it is damaged by the snubber. This pad-like device is often located under the agitator caps. A suspension spring may be found in the snubber. Take off the cap that covers the agitator and inspect the snubber. Replace the entire snubber if it is damaged or worn. You might also find snubbers at the top of your tub, under the transmission or in the water-pump housing. It’s there if you look around.
If your machine does not have a snubber or a tub, you should listen out for any noises at the suspension unit. There may be fins or pads on the suspension unit that need to be replaced. Sometimes, the whole unit might need to be replaced. The basket support nut is another noise source. It holds the basin in its place. Imagine the punishment this sucker gets. You can tighten the bolt or replace it if it isn’t.
A broken motor belt can cause sudden tub stops, but poor tub loading is more common. You should check to make sure that there is no wet laundry under the basket or agitator. To remove the laundry, you will need to take out the basket and agitator.
Next we will look at water-related issues, beginning with how to fix water leaks.